How It Works
Seagrass Sod Transplants
All in a day’s work.
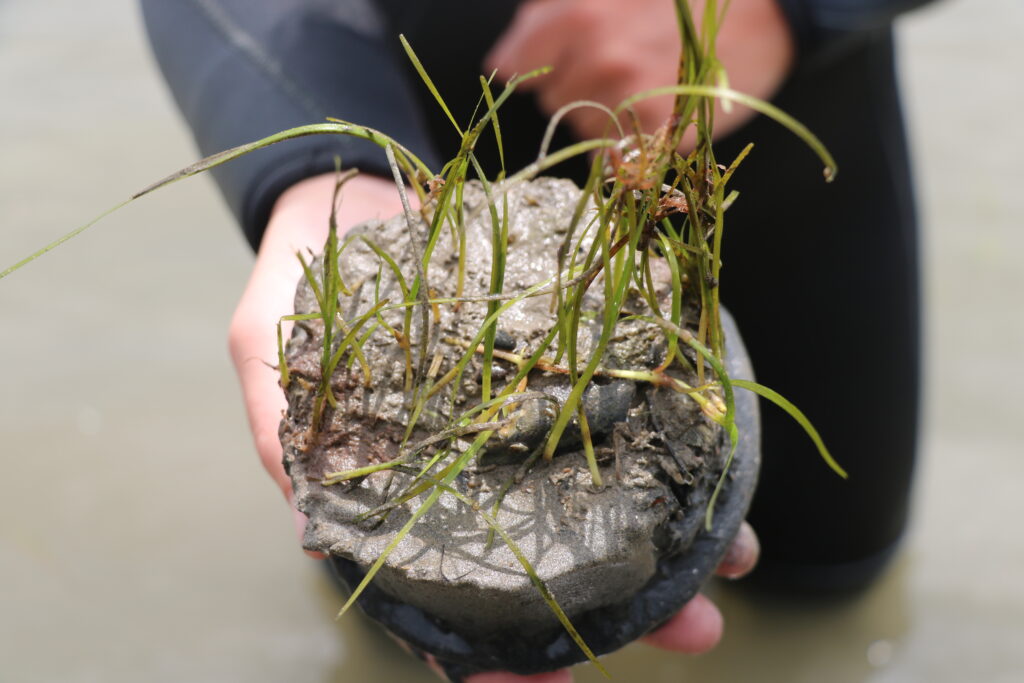

Step One: Create a seagrass sod.
A seagrass sod is a transplanted unit of healthy seagrass, including its leaves, roots, and the underlying sediment (rhizome mat), used for restoring damaged marine meadows

Step Two: Transport to restoration site.
Seagrass sods needs to be transported as quickly as possible from the healthy donor seagrass meadow to the restoration site.

Step Three: Plant your seagrass sod.
The seagrass sods need to be planted at the restoration site at the appropriate depth and density.
Follow the science…
It seems simple, but a lot of research has gone into optimising the restoration methods, including research into the diameter and design of the cores used, the monitoring and identification of healthy donor meadows (in both the Bassin d’Arcachon and the Étang de Berre), and the specific locations of all of the restoration sites chosen.
Whilst every garden is different, the broad step-by-step journey for seagrass transplantations remains the same:

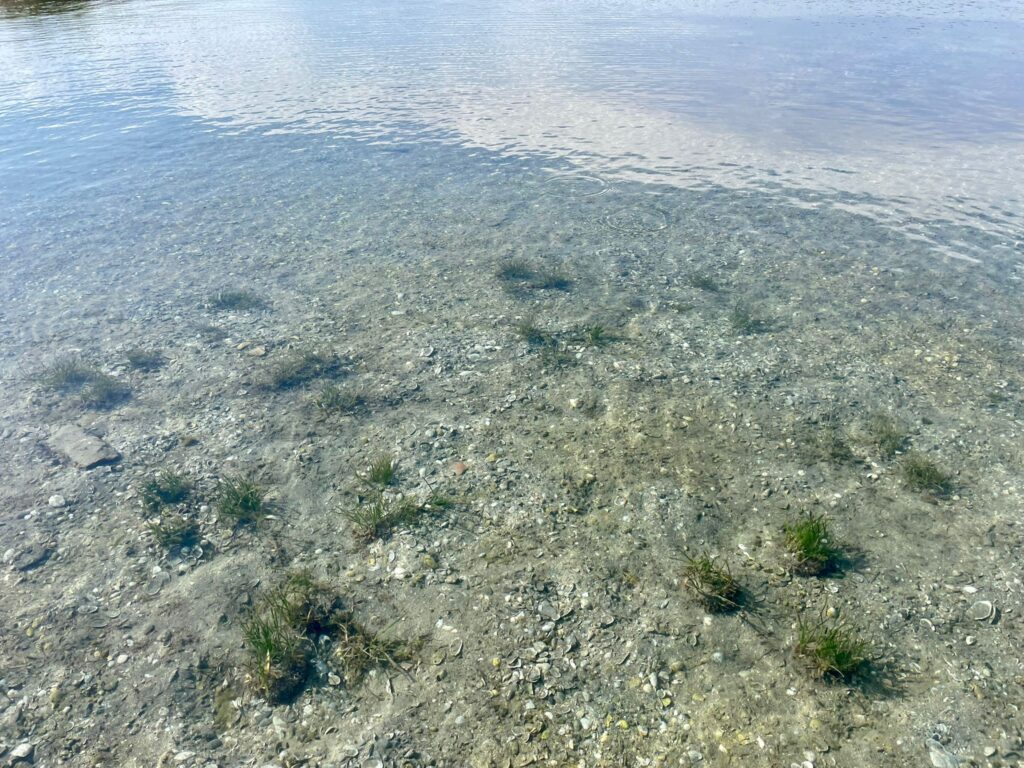
- Identify healthy seagrass meadows of the appropriate seagrass species (Zostera noltii, Zostera marina or Cymodocea nodosa). These can act as ‘donor meadows’ (where you will create your seagrass sods). These seagrass meadows may be subtidal (underwater) or intertidal (exposed) depending on the garden in question.
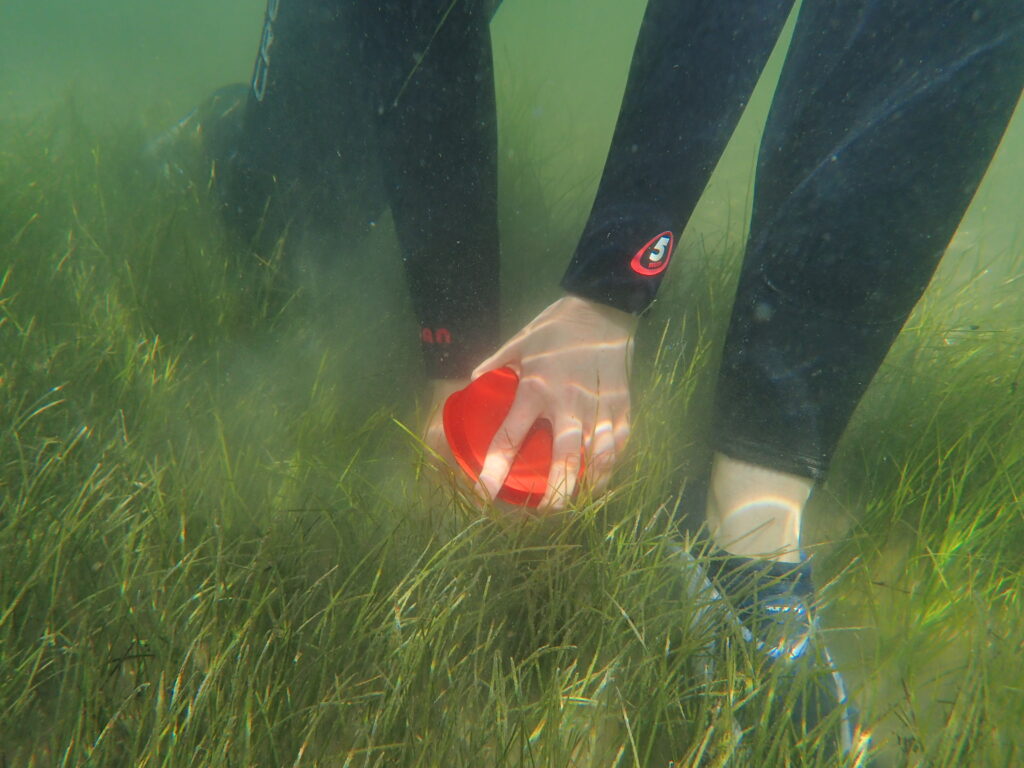
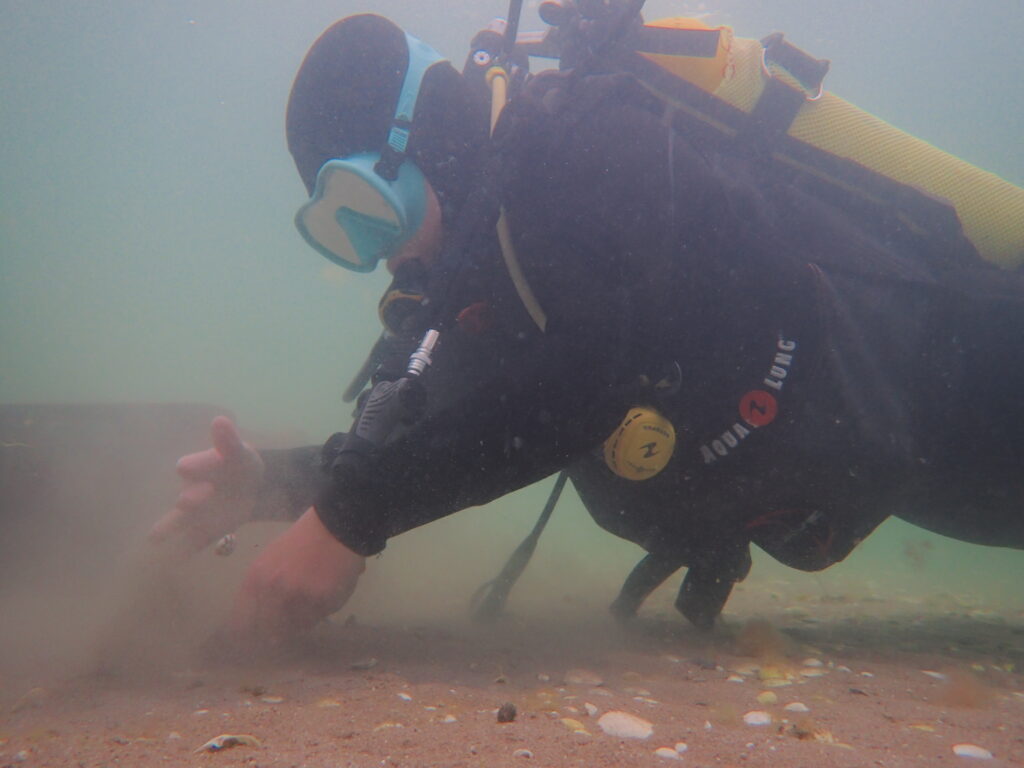
- You will be given a crate full of PVC pipes. These are your ‘seagrass corers’. Grab a corer (a 10cm diameter, 30cm long piece of PVC Pipe) and push it into the seagrass meadow sediment (normally around 10-12cm deep for Zostera noltii and Zostera marina seagrass and 15-20cm for Cymodocea nodosa seagrass). Push your hand underneath the pipe to stop the sediment falling out and then ‘cap’ the bottom with the red lid. You have a ‘seagrass sod’.
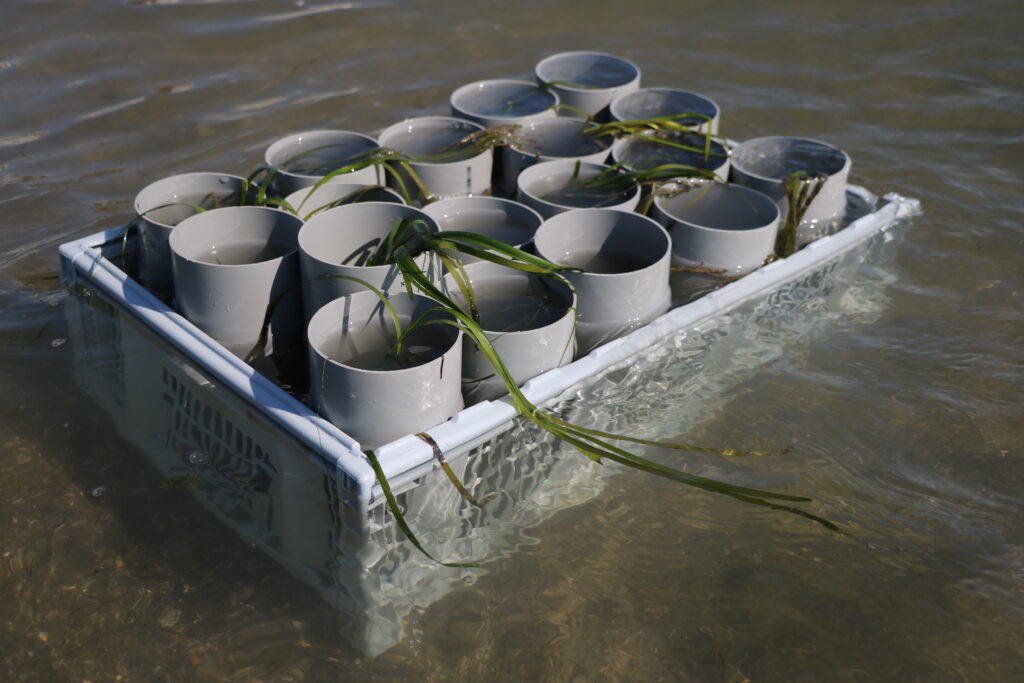
- Repeat this coring process until you have a crate filled with the seagrass sods of your desired species. Note, a full crate can be quite heavy to carry, so if possible float the crate over to the designated collection area or if working in the intertidal share the weight of the crate with a friend.
Transport to the restoration site.
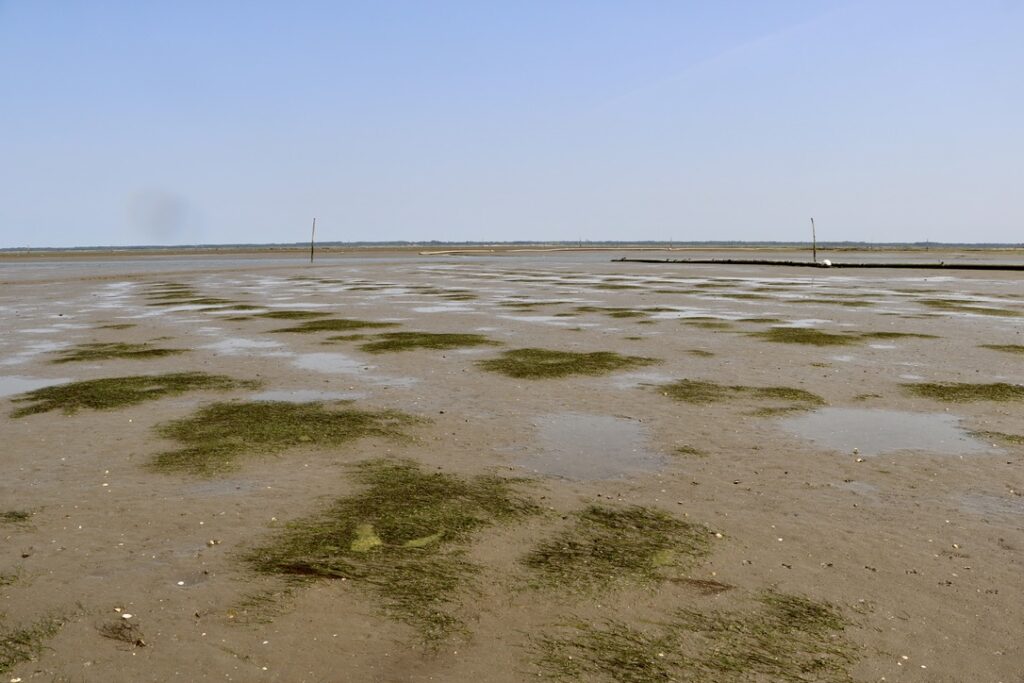
- The restoration site will be an area that has been identified as suitable for seagrass, but that for whatever reason currently doesn’t have any seagrass present. You will need to dig a series of 10-12cm deep holes in the sediment ready for your seagrass sods. Depending on the specific restoration site and seagrass species you will receive guidance on how and where to plant your seagrass sods.
- Plant away! The rate of seagrass growth is species and location dependent and so you will likely be asked to plant your seagrass sods in a specific way in order to optimise the growth of the seagrass meadow.
- The seagrasses will now expand through rhizomatic growth (horizontally) over the course of the growing season (summer!), just like land plants. The speed that this happens will depend on the suitability of the site, so grab yourself some oysters and a glass of something cold! It’s time to sit back and wait.